There are many ways to build a dolls’ house from a kit in any scale. The first time round most miniaturists do the old fashioned thing of reading the instructions and some, even, follow them.
A house or so into the hobby, confidence may rear its ugly head after which kitbashing is the order of the day. Kitbashing, the innocent art of altering a kit to make it your own, improve it, tweak the era, add six rooms and a garden and so on can effect any kit. You can kitbash a chair just as easily as a Georgian rectory.
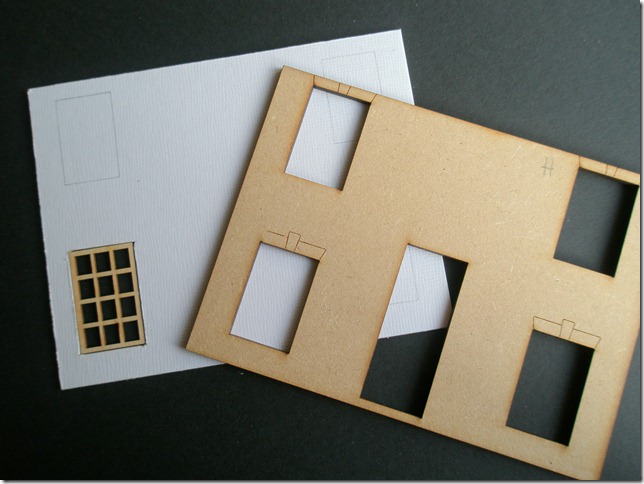
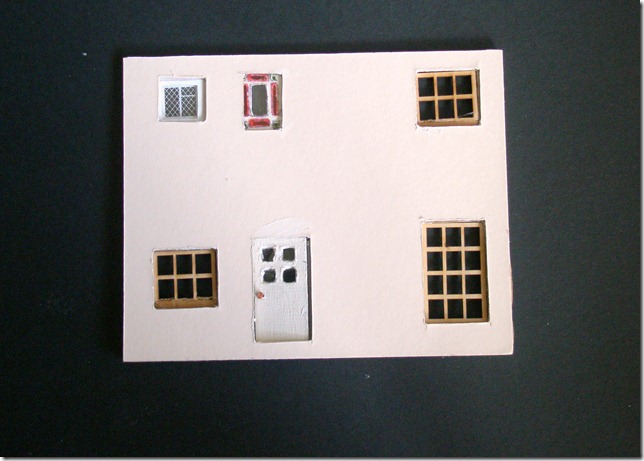
In the case of the Petite Properties basic house kit I’m going to kitbash the back wall. In the original kit, which is made from laser cut MDF, the back wall is solid. The overwhelming feature of these houses is undoubtedly the architectural view from the outside. If you click on Petite Properties in the links, you’ll find photographs in the portfolio, of properties round the country that inspired the houses. I, however, always start with the dolls and the house being the place where they live. Therefore they need windows on the back wall, otherwise it’ll be too dark to read. Also windows give you the opportunity of being the giant squinting through them.
After breaking a few craft knives trying to cut a hole in the back wall, I decided that the only possibility was to substitute the MDF for something I could cut with a craft knife. One of the interesting difficulties of going down scale is the strength of materials issue. The whole point of a dolls’ house is that it’s meant to be an heirloom so it has to last. However, materials need to be reduced in every way, including strength, as you downsize. For example, a piece of wire that bends a wired doll leg must be downsized to a daintier piece of wire in a smaller doll or the wire will be stronger than the hollow porcelain leg and break it as it bends; if it’s thick enough it will never bend at all, though it would on a larger doll. It’s all about horses for courses. This does not obtain simply in playing with the miniature but also in making it. A very thick piece of wood, suitable for a strong 12th scale wall, needs a strong saw to cut it but if the same saw and thickness of wood is used in 48th scale the giant cuts are not precise enough for the finish; one hefty sweep of the saw could take half the wall off. In 48th, for some purposes, even a craft knife will be too crude and a scalpel will be needed to make a sufficiently thin cut, therefore the material used must be capable of being cut with a craft knife or a scalpel, unless you happen to have a laser cutting machine to hand.
I have used three MDF substitutes: the artist’s board I previously mentioned and artist’s mounting board, otherwise known as mat board and thin 200 or 300 gsm craft card. You could use any type of packaging card if it is smooth and can be painted, glued and filed without disintegrating. The desirable thickness should be the same as the original material you are matching or you will, for example, if the back wall fits between the side walls, find the back wall to be proud or recessed when fitted. The best solution of all, where a wall has to have windows and doors set into it, is a combination of boards that will match the thickness when layered up, two layers being the ideal. This will enable you to overcome the materials strength problem in relation to door hinges. If you used miniature hinges, which are available, the skill level required to fix the hinges into cardboard and have a working door where the strength of metal hinges will not eventually destroy either the door or the wall, is quite considerable. To be realistic the hinges should be fastened into the thickness of the wall without the nails showing. If this all sounds like much more miniature engineering than you signed up for, it is. Here’s a way of avoiding the problem.
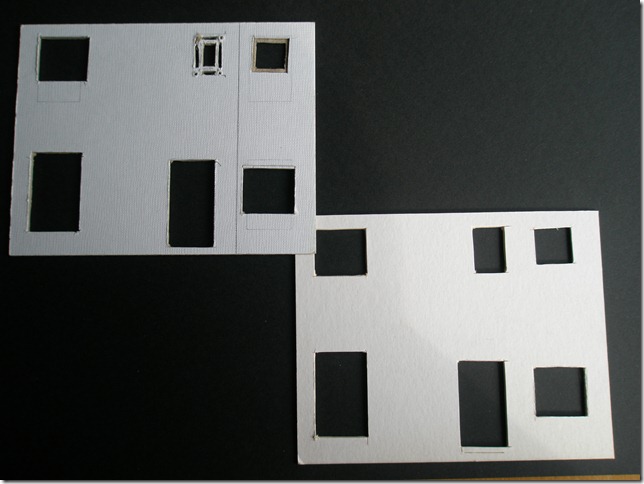
I cut my substitute back wall twice, once in the artist’s board and once in mounting board. I used the existing back wall for the size because we know it fits. In this scale you need to be careful about marking with a thick pencil lead, I prefer to draw using a scalpel; it doesn’t mark the card and the line is nice and thin. Where I can’t use a scalpel I use a propelling pencil with a thin hard lead. Having cut out a back, I know I want windows and doors. I could cut random windows but I haven’t decided exactly where the building will be two rooms thick, or one and I don’t want to end up with an internal wall halfway through a window. Ideally the windows and doors on the back should line up with the front, so the easiest thing to do is to use the laser cut house front as a template.
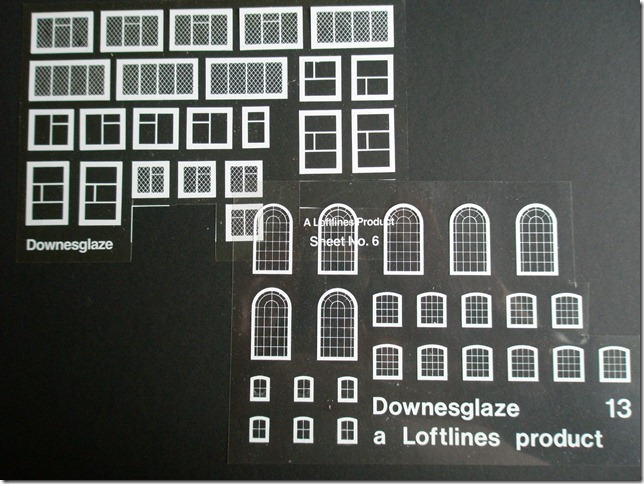
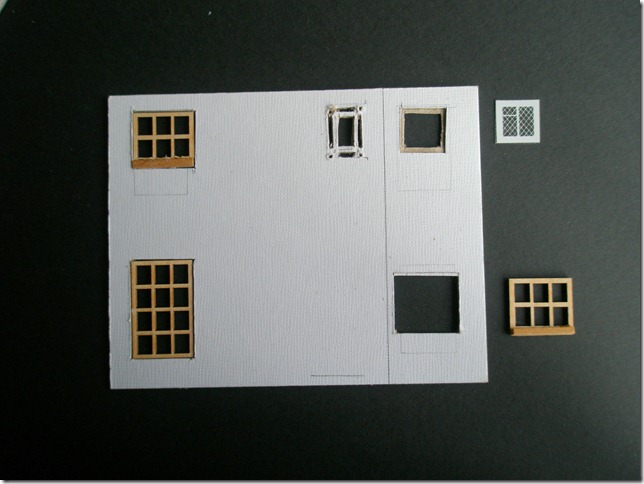
The laser cut window holes are made to fit the windows in the kit. Whilst you can use the front wall to get the general placement of the windows, you need to make the actual holes fit the windows you are going to use. I had bought some wooden windows from In Some Small Way (in the links), I am going to use the plastic printed railway windows
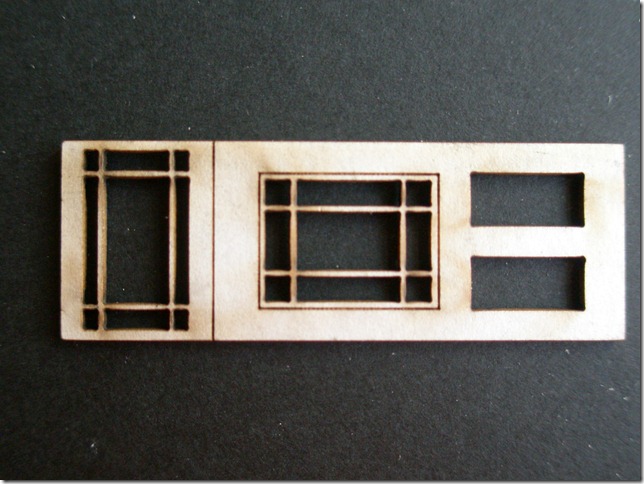
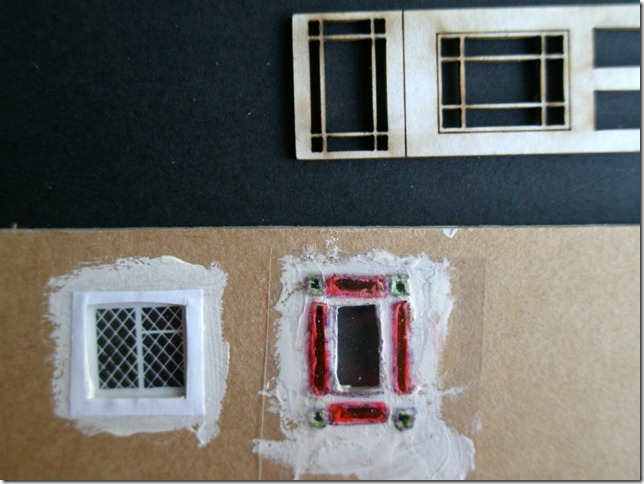
and scratch build windows using what might be the transom (I haven’t examined the front door assembly in detail) of the front door as a template. Having drawn lightly through the holes in the front I placed and centered the windows I was going to use and drew round them with my scalpel, cutting the holes out in both sheets of card.
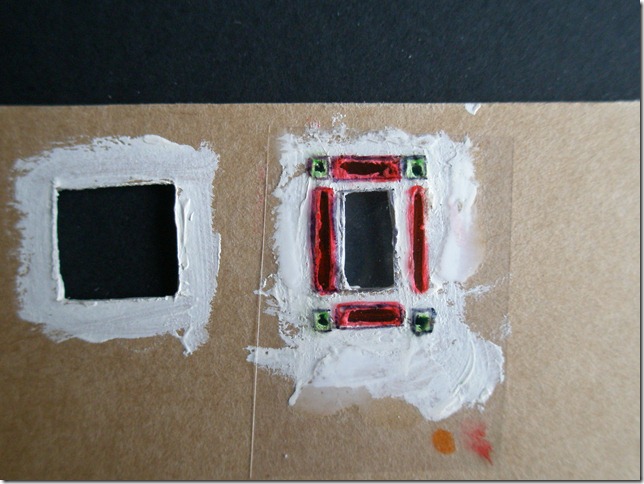
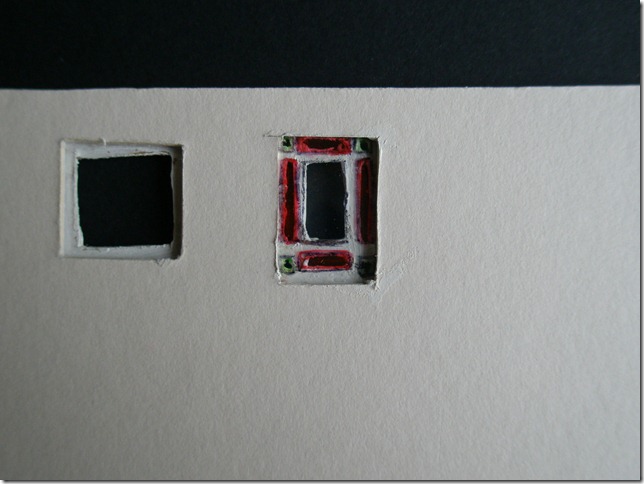
I have cut the door hole lower on the sheet that will be on the inside so that there is a step on the outside that prevents the door opening outwards. This is not only more authentic, it puts less strain on the hinge. The scratch built window has only been completely cut out of the outside wall. In the inner wall the card has been cut to make the glazing bars. I put the transom of the laser cut front door (in the kit)
on the left – over the card, marked and cut with a craft knife. The corners I drilled with a fine hand drill and then squared them off with a metal file. I stopped as soon as the card began to get a bit fluffy. I then painted round the sides and edges and left them to dry which cured the fluffiness a little. I took a piece of heat resistant acetate, placed it under the cut out shape, marked and coloured with a heat set fabric pen and dried the result on a radiator. Glued on to the back of the card, I refined the edges with a fine liner. This side will be inside of the wall sandwich.
It’s better from the other side
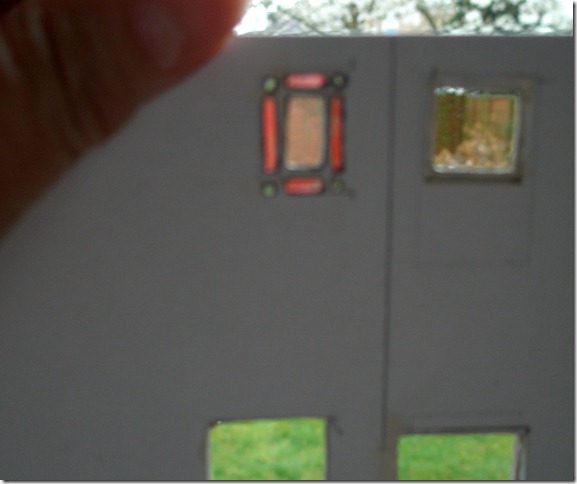
and very like a Victorian landing window if you look through it.
I’ve already fitted one window just as it came but I only bought two. So I subdivided the other and glued on a new windowsill made by cutting small square section wood. I do have boxes full of bits of wood and strip wood for picture framing. If you do not, any paintable material will do: matchsticks, plastic sprues or card. I cut holes for the windows. For the plastic railway window I scored a shape to fit but only cut through a few layers of the card, then cut out a middle to make a hole for the window to sit in, with a recessed ledge, so the thin printed acetate could be glued in.
As you can see I dealt with the windows before deciding what I was going to do about the door. All the window holes were painted round inside so that no cardboard can show by mistake in the finished house. At this stage I cut a square paper liner for the plastic window and a paper outer frame. Two layers of glue and a layer or two of paint make it stronger so that no one will stick their finger through when they pick it up.
At this stage nothing is stuck down except the acetate and paper; all the windows are fitted to the inner (thicker, artist’s painting board) wall. The outer just has the holes in it ready to act as a template for the brick work, by whatever method we use to make the bricks.
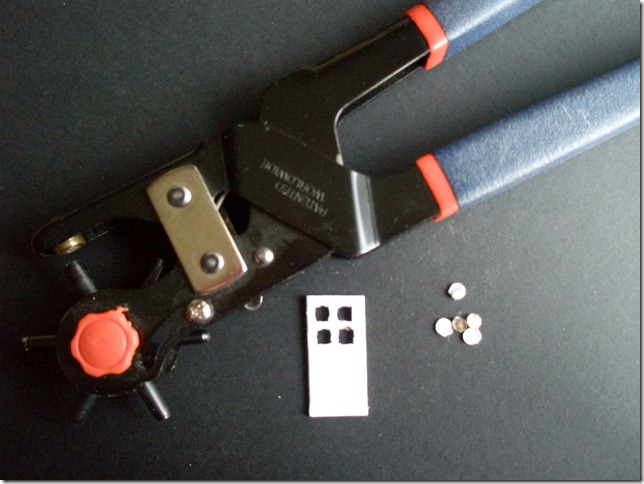
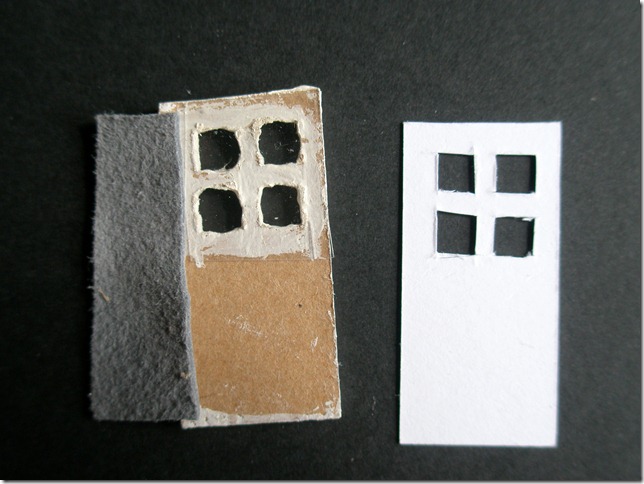
Now let’s make the door, I cut it out of mounting board, punched four holes with a hole punch
and squared them off with my file, I used it as a template to cut the hole in the walls, slightly large to allow for several coats of paint in finishing the door.
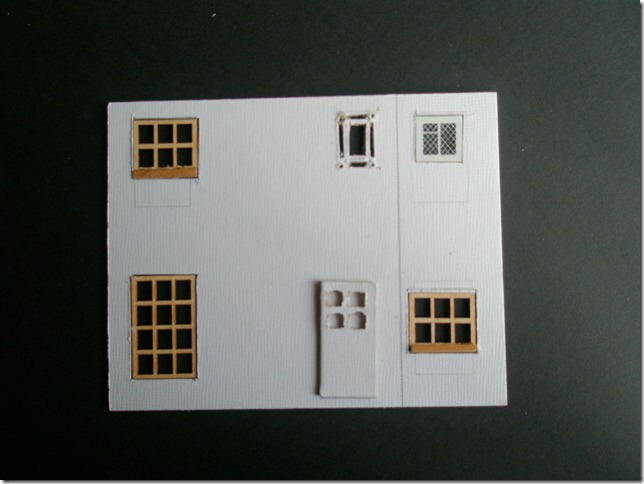
As you can see I’ve already decided on the placement of an internal wall, the original kit had a simple subdivision into four rooms but I need a hall because I’m going to put in a stair case. We’ll tackle the stairs next time. Meanwhile deciding where the stair wall will be means we can edge the hall over to one side and give a larger sitting room and a smaller kitchen. If this wall placement disrupts the front door location we’ll correct that when we deal with the front wall.
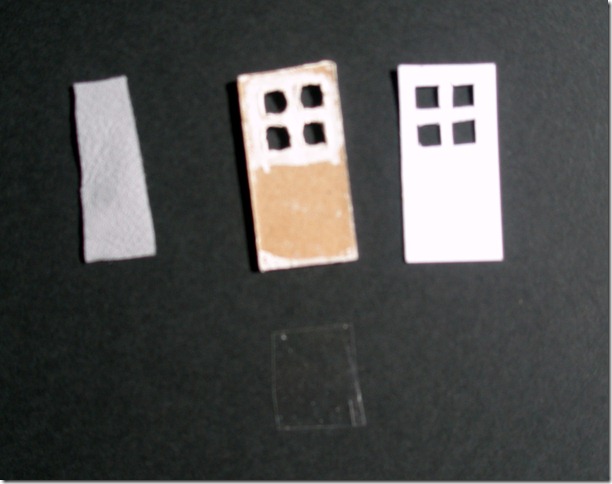
I cut another door out of thin card, I also cut an acetate glazing square and a leather hinge. I painted all the edges of both doors and when they were dry, dry fitted to ensure the glazing was small enough to accommodate the leather strip beside it.
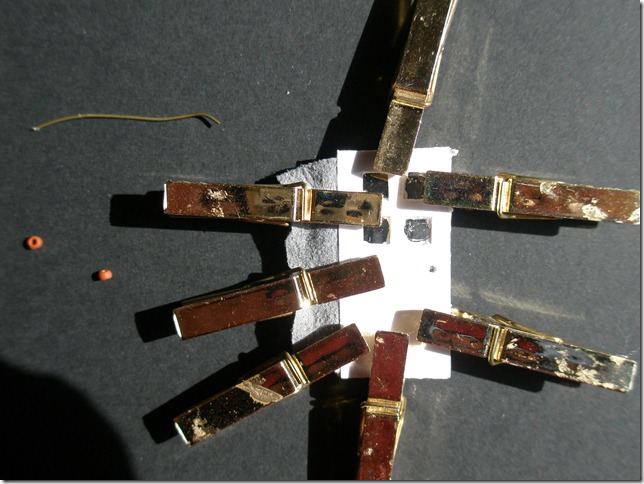
Before assembly I drilled a handle hole for a wire and bead handle then glued the acetate and leather on to one side. After placement
I reglued the acetate and the leather so every surface that would touch was coated before gluing the door, making the sandwich and clamping it all with these indispensible miniature clothes pegs, which are actually sold as novelty paper clips.
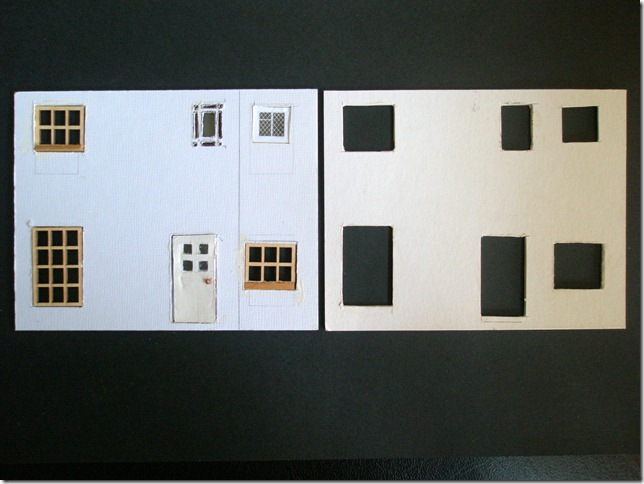
The leather strip is glued on to the outside of the inside wall, the one that will be in the middle of the sandwich when the walls are glued together. Once the door is glued up and dry, two coats of paint transform the texture, strengthens the whole and disguises the layers of card at the side. I then fitted the handle.
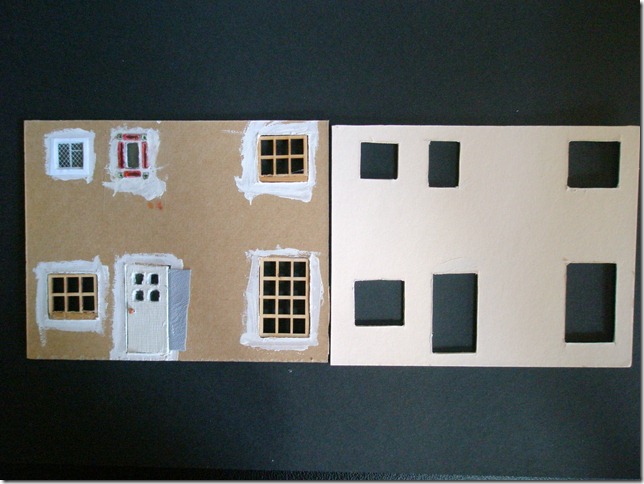
This will be the outside when the wall on the right is glued on top. Here it is from the inside, I have now glued the leather hinge to the wall.
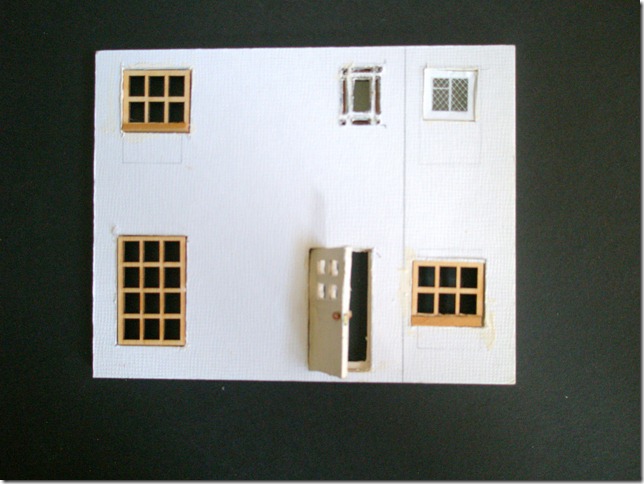
Resisting the temptation to glue the two walls, I placed them together so you can see from the outside there are recessed windows and doors, like a real house.
From the inside you can see, when the door opens, that I have painted a metal lock tongue and outlined it. In smaller scales details like this do not have to be exact when magnified but if you omit them the finished result will be more like a model and less like a little house.
We’re a long way from being able to walk through the door but we do now have a substitute back wall with windows, most still not glued in because we are going to paint them and fit curtain rails and paper before we get to that stage.
Next time – up the cardboard hill to Bedfordshire.
littlehouselittlehouselittlehouselittlehouselittlehouselittlehouselittlehouselittlehouselittlehouselittlehouselittlehouselittlehouse
JaneLaverick.com- wall I never!

