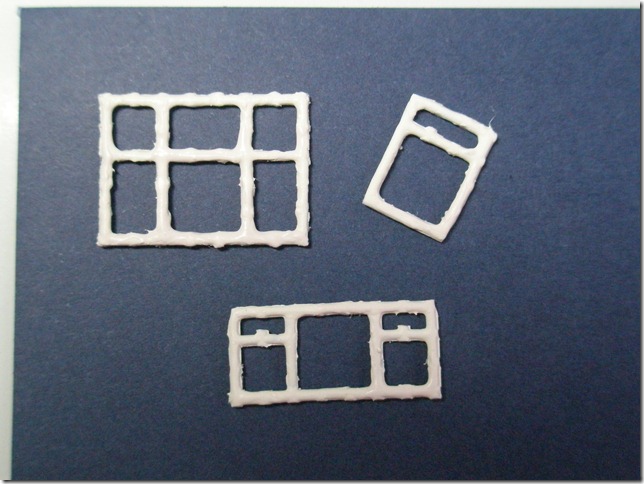
One of the most useful additions to your small scale tool kit is gesso. This type of liquid plaster, used by artists to prepare and smooth surfaces, is invaluable for making little lumps and bumps disappear. Think of it as shape wear for dolls’ houses. Buy larger bottles in artist’s supply shops, smaller ones in hobby shops.
I noticed once I began painting the 9 hole plastic canvas windows that every area from which I had cut a joining bar had left a little bump that showed up when painted. I used this in the next window and deliberately left a bump attached where I wanted the illusion of a window handle to be. Meanwhile a coat of gesso mixed in equal parts with acrylic paint disguises the origins of my windows. Internal paper frames and curtains will also help but so far I have this. I cut the smallest window last and by then was getting better at paring off the lumps with my scalpel.
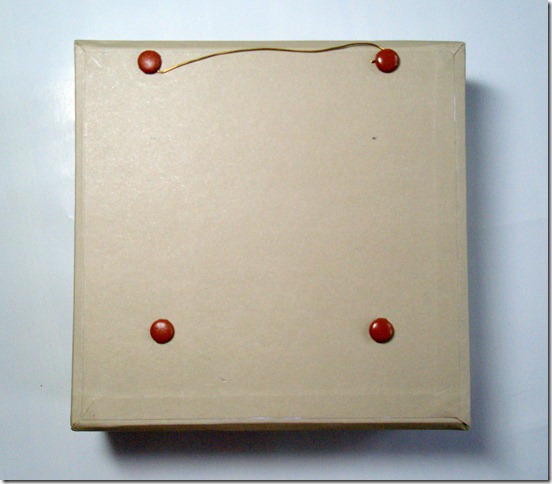
Before I finish the rooms I need to make a way for the house to hang on the wall. If you squint behind pictures you have hanging on your walls, you’ll see that they rest on the wall by the picture hook and wire or cord at the top and also on the bottom of the frame, which inclines the picture forward at the top. In a house with a slide-on front (the box lid) this is a potential disaster, not to mention the consequences for anything not stuck down inside.
So I’ve used two huge paper fasteners, or brads at the top and two at the bottom.
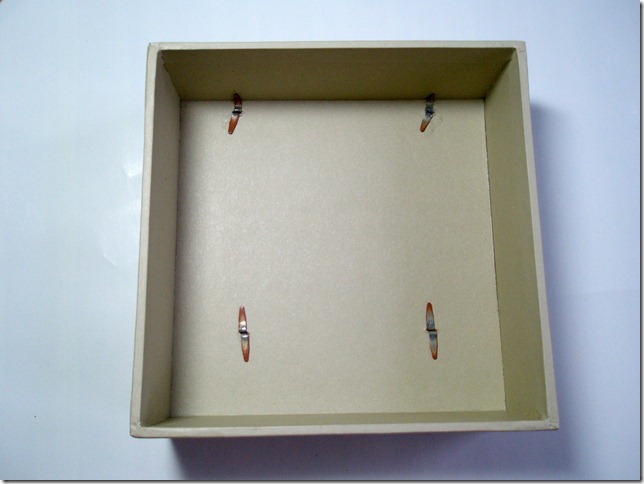
The wire is threaded between the legs and wrapped round for strength. Depending on the balance of my roof and what weight I put where, I may need to glue some other separator at the bottom to hold the base away from the wall so the internal floors are level. A button would do but I’ll do that at the end, for now what I have is a box with the hanger attached which will stand flat on my table for working on.
Inside I forcibly flattened the metal legs with pliers and checked that all the boxes still go in.
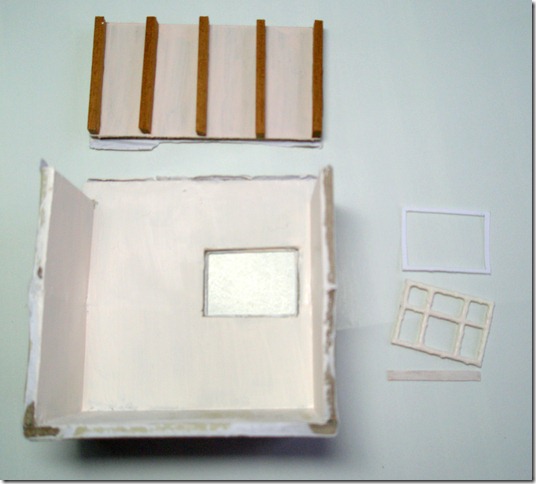
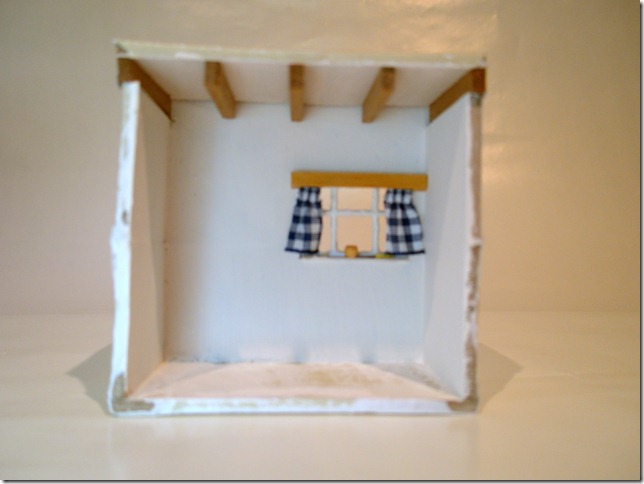
The room is coming together. I have cut beams for the ceiling from miniature wood strips but applied a coat of gesso, paint and one drip of antiquing stain all mixed up, to the ceiling first, to simulate many years of smoke from the fire before gluing them on. I have gesso + paint-ed the walls too.
I’ve cut a thin card window frame and a thin wood strip windowsill, which I’ve painted. I’m finding the missing ceiling really helps me to get my huge hand in the box so much that I’d consider removing the ceiling from all the box rooms, even the ones that were the right size to begin with.
I’ve just received the stairs, which are a work of genius, in the post and some furniture kits. I’ve put Martin and Alan in the links under woodworkers. As 48th scale is newish in terms of British makers getting involved in a ‘lots of products, major choices’ way, it may take some time for items I tell you about here to appear on people’s websites. Please be patient, these are not things made by hundreds of factory workers, it tends to be one man, one garage, one laser cutting machine and they still need to eat and sleep. I am very conscious that none of my stuff in this scale is in my online shop and I haven’t even dressed a doll yet. All of which goes to show you either how idle I am or how very cutting edge this is. What is fairly certain is that everyone will have lots of everything for the spring Miniatura, best advice may be to get the rooms ready and go armed with a shopping list. An advantage of this modular box system is that you won’t get stuck, either do the rooms you can, or get each as far as you can and only slide a room in when you’ve finished it.
My pal Lynne Medhurst, past editor of Dolls House World magazine, has always had her dolls’ house featuring ‘the room full of tins of things’ and similar wonders. There is absolutely no reason you can’t do this here. If you want to display the box as you go, miniaturise the rooms that are ready and Tim Holtzify the rooms that are not and still always have something interesting to display. As these configurations boxes have the same depth interchangeable internal boxes in all sizes, you could move the Holtzified inner boxes from project to project as you go. It would certainly stop you exhibiting that most miniaturist of behaviour, which is to show someone your house, whilst enumerating all the rooms you haven’t finished and listing all the mistakes. (Thought it was just you, huh? I frequently try to sell my stuff by telling people what is wrong with it. I bet Leonardo had to get Lisa back to his studio all the time so she could stand by the picture while he pointed out to potential buyers how very like her it wasn’t. Hence, maybe, the name that has come down in history ‘Moaning Lisa’.)
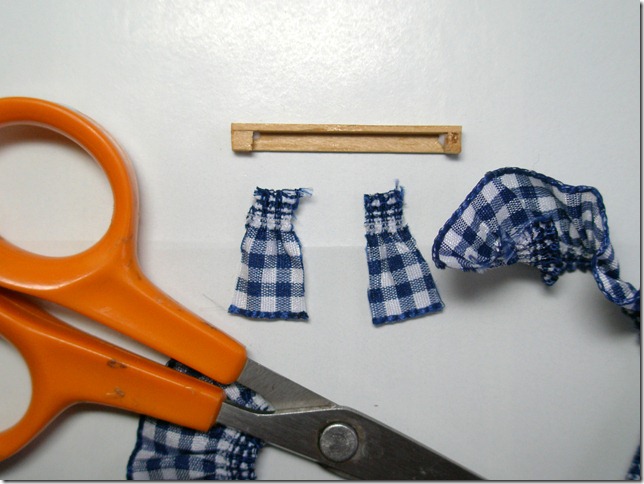
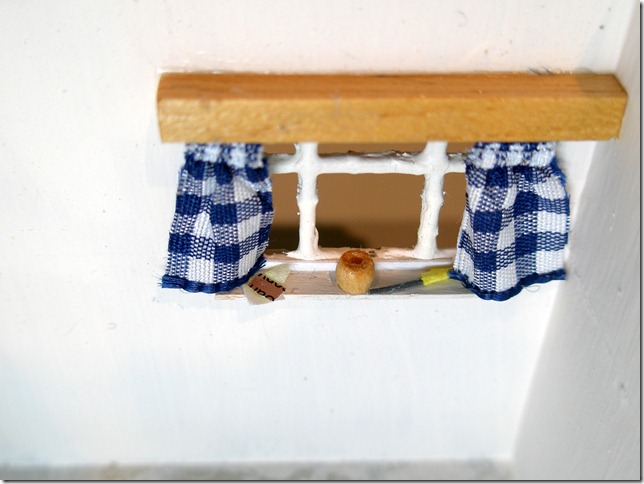
Meanwhile, back at the box, I’ve made a pelmet for the kitchen window with miniature angle wood, with the ends stopped off with cut blocks, and a pair of curtains from slices of full size ruffle ribbon, with the ends fraychecked. Fraycheck, for non miniaturists, is a clear liquid in a little bottle from the haberdashers suppliers, which, when applied to the cut edge of fabric, prevents it from fraying and saves you having to hem the edges, which would look huge and lumpy, if sewn. Go for the little 22.5 ml bottle, there is a giant soundalike version which is too thick for miniature work.
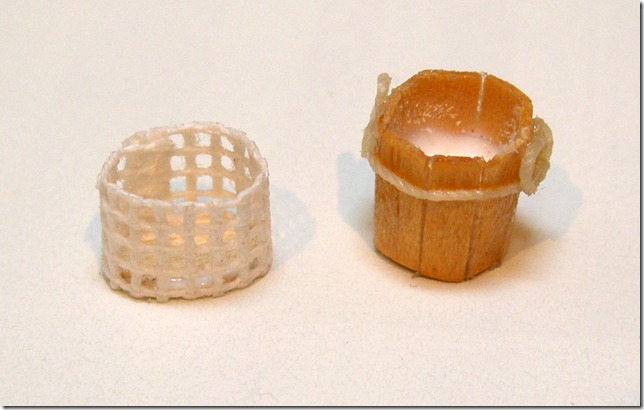
I have also made a bucket for under the sink and a log basket for the fireplace. The bucket is made out of a circle cut from a thin sheet of balsa wood with a hole punch and some thin strips of wood, cut slightly angled to one end. I glued the strips round the circle and filled the hole with glue, which will dry clear to look like water. I tied a thread round the bucket top, knotted loop handles and then varnished the lot.
The log basket is a strip of fine canvas glued round an oval of wood. Since the glue dried I have dunked the whole thing in antiquing stain and now that the sun is shining I am off into the garden to find some weeny twigs to fill it.
Before gluing the windowsill into place I added windowsill junk.
What do you mean, you don’t know what windowsill junk is? What planet are you from? (Take me to your leader, I come in pieces.)
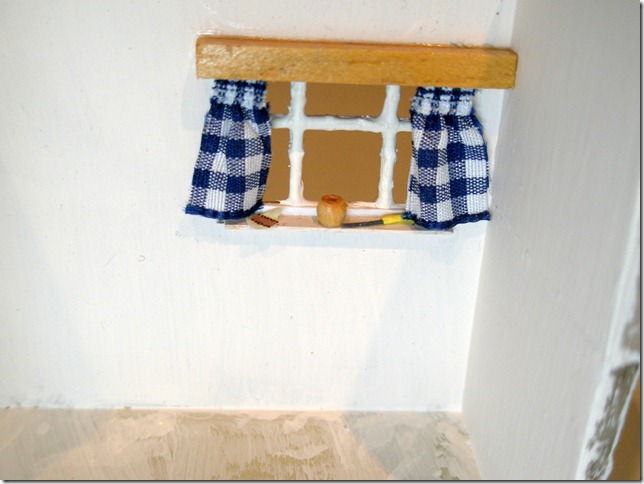
As you can see in the close-up it’s a pile of post (probably unopened bills) made from a stack of paper, a wooden biscuit barrel with the lid missing (otherwise known as a bead I’ve varnished) and a knife (a piece of wire glued into a paper handle.) From a distance it’s very believable.
Looking randomly into the room
it’s windowsill junk.
I’m off to run up and down the stairs, stay tuned there’ll be more in a couple of days. If you are a Sunday morning reader, scroll down, part 1 is below.
~~~~~~~~~~~~~~~~~~~~~~~~~~~~~~~~~~~~~~~~~~~~~~~~~
JaneLaverick.com- student of junk.

