One of the major features of going down scale is that it takes less furniture to fill a room. For non miniaturists I should point out that a dolls’ house room has more in common with a stage set than a real room, because the point of view of the onlooker is the fourth wall. In a real room there might be furniture set against every wall, in a stage set or miniature room we have no fourth wall.
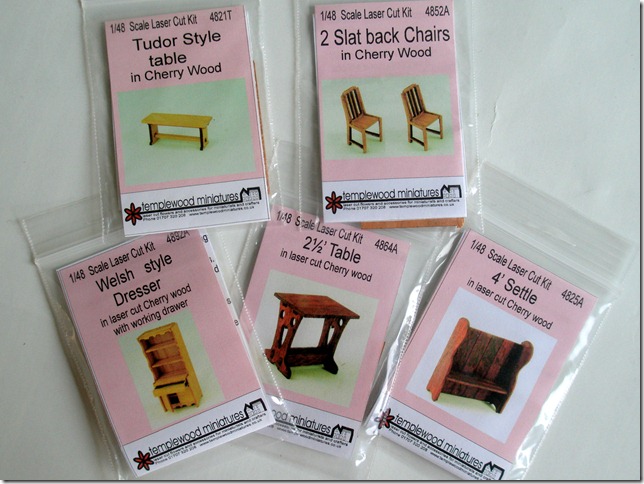
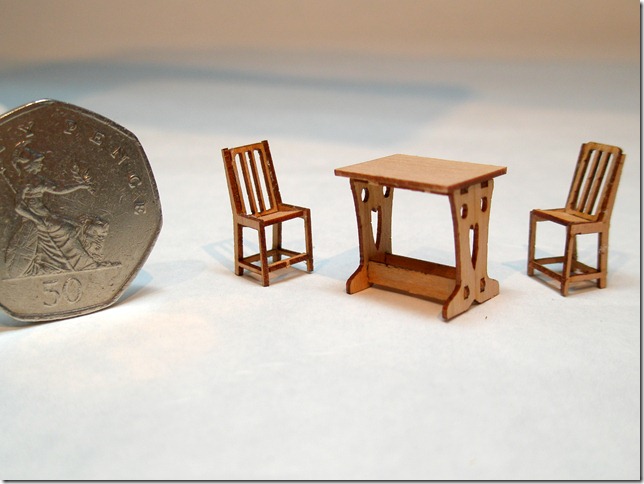
As the rooms are so small I have made the furniture first to physically try it in the space. I’m using the Templewood Miniatures (in the links under wood workers) kits again.
Alan is really getting good at this (and Jane is improving). These kits could be bought by a beginner in this scale and successfully done. I wouldn’t necessarily recommend them to a new miniaturist; I think you’d want to get your eye in on 12th scale at least for one piece of furniture, if you’d never made anything small before. Unless you have weeny hands you’d need tweezers but after my last effort, when I definitely over-thought the entire process, this time I just cut the tiny joins with my scalpel, picked out the bits and stuck them together. If you do what it says in the instructions, you’ll get a result like the picture on the packet.
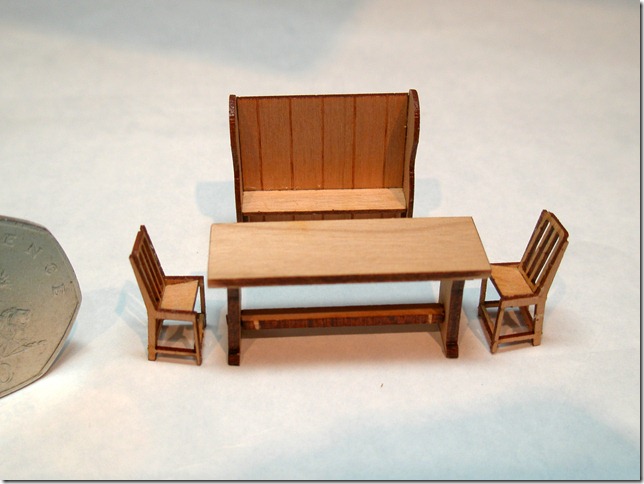
The instructions are a model of brevity and clarity, less reading, more doing than is usual with any kit. I like that. The thinnest line of glue you can do and there you are, six pieces of furniture made in three quarters of an hour. Work of genius. (The genius being Alan, not me sadly.) If you do what it says I don’t see how you can go wrong if you work on a tray and assemble on some waxed paper, so it won’t stick.
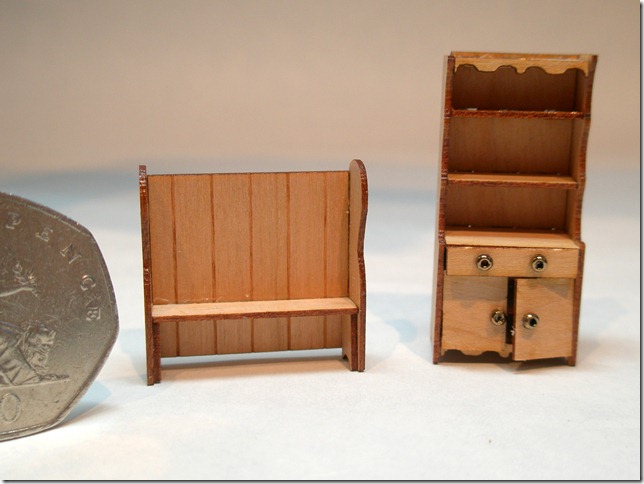
I added brass handles, which are small beads, to the welsh dresser, which is brilliant. These are just as they come, I have yet to varnish them, fill the dresser or make a cushion for the settle. I love the settle.
It makes me want to do a pub. I can’t decide which table to use. this one is nice too.
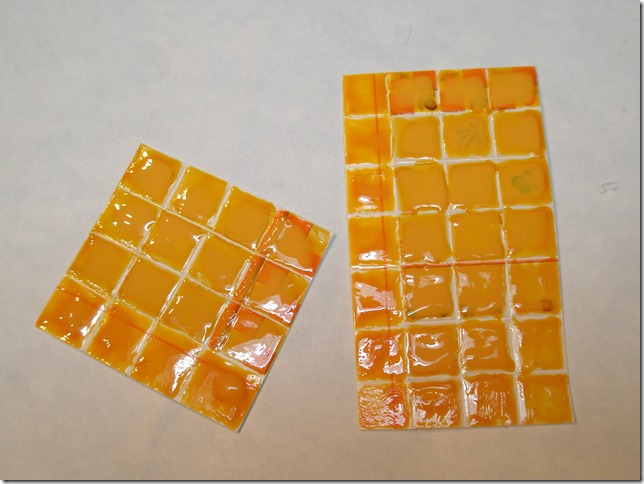
I made the flooring to try the furniture on top of, by cutting a card sheet of embossed 12th scale tiles to fit. The tiles, which are splashback size in 12th scale, are right for huge floor flags in 48th. You could also make some from scratch by scoring a piece of card to show the joints and then doing a paint job. I painted mine with window glass paint which is squeezed on to give a raised, dimensional look.
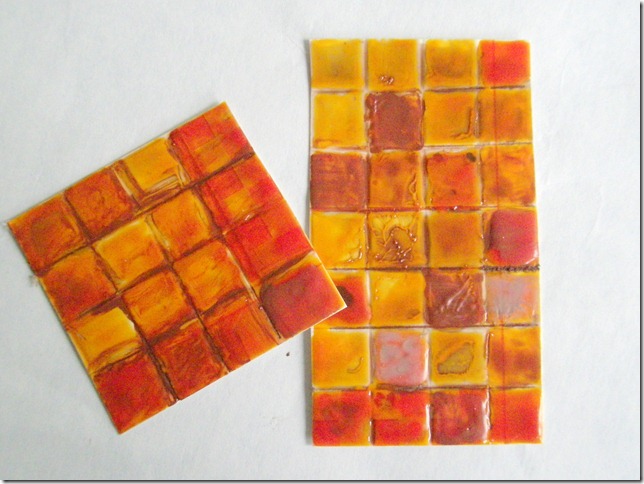
Once dry, a coat of antiquing stain filled the gaps and I repainted some tiles with woodstain mixed with paint to get this effect.
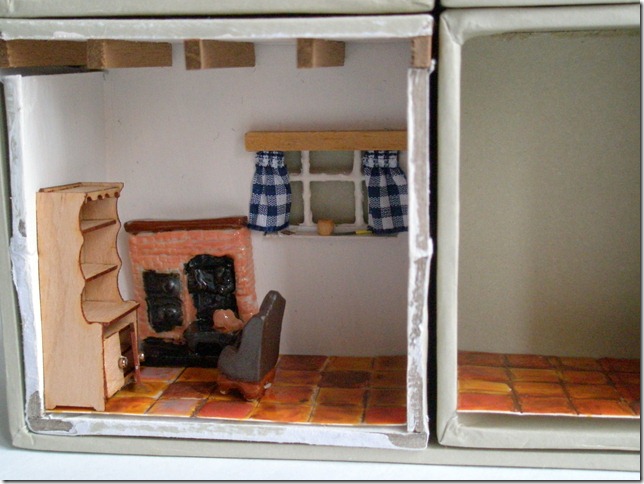
Now to try the furniture in the room.
Well it takes up a bit too much room, I think. You’ll notice the dresser has lost the drawer; it was a while before I worked out what went ‘plip’ when I picked it up. You can save yourself the half hour of searching by only working over a tray but you would be cleverer than me if you always remembered to do so.
I’ve decided to make a smaller bit of furniture from scratch. Remembering that you may not be a long term miniaturist with a ton of woodworking tools, I’ve decided to use the thinnest balsa wood sheet I can find, which can actually be cut with scissors. The stuff I have to hand came as a pack of A5 sheets, designed for card making, but anywhere you are the thinnest that the hobby shop can provide (the thickness of mine is 1mm) or, failing that card and a paint job will do.
I’m going to make a court cupboard. This piece of furniture can be found in houses that are five hundred years old. Near here some of the Shakespearean properties have them, or their forerunner, the tridarn, a set of shelves with turned balusters as supports. As the shelves evolved, someone had the bright idea of enclosing a portion of the top shelf, with a door at the front. Eventually they enclosed the bottom too and next thing you know – kitchen cupboards!
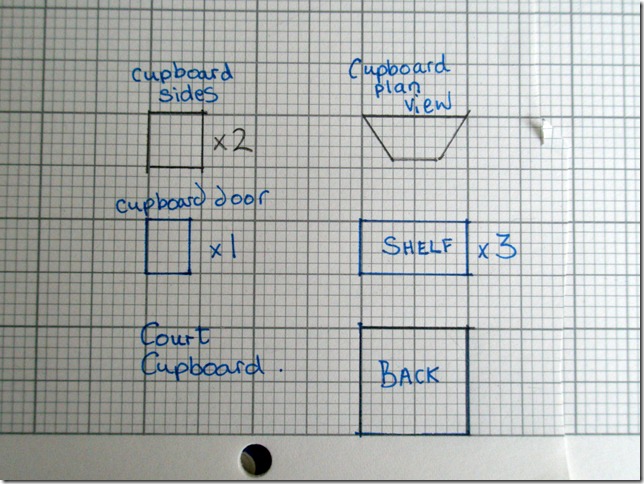
I worked out the simple elements of this and drew them up on centimetre squared paper. As this is so small I’m only going to use butt joints and have nothing working (on a bigger scale I’d use woodworking joints and have opening doors) so I only have to plan for the look, not for the jointing. Here’s my plan:
Cut the balsa wood by scoring gently with a nice new scalpel. Even though it’s balsa you can still bruise the wood if you go straight through with scissors, or squash the edge so that you don’t have a flat end to join.
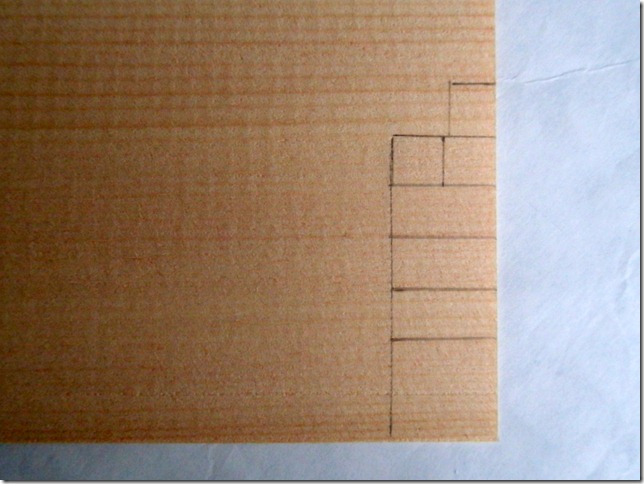
Here is the balsa sheet marked up ready to cut. Ordinarily, I would have marked the cuts with a thin scalpel blade, rather than a great thick pencil line but I wanted you to be able to see it. When they were cut I sanded any edges that needed it with an emery board, holding the adjacent wood firmly between finger and thumb so that it is supported.
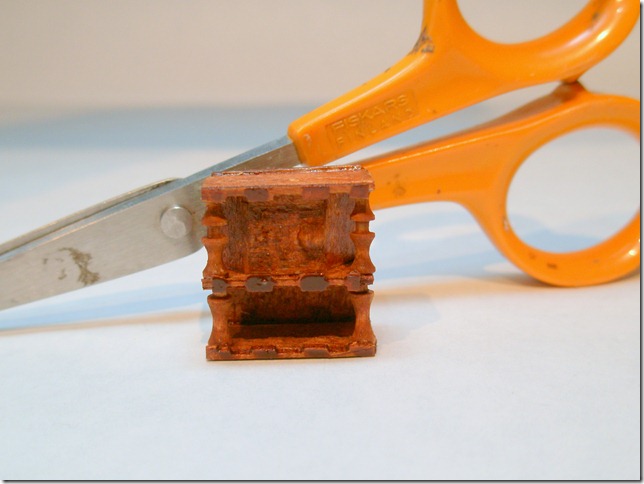
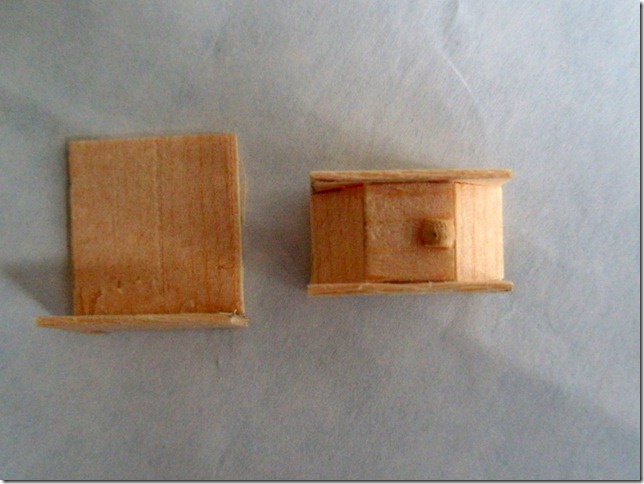
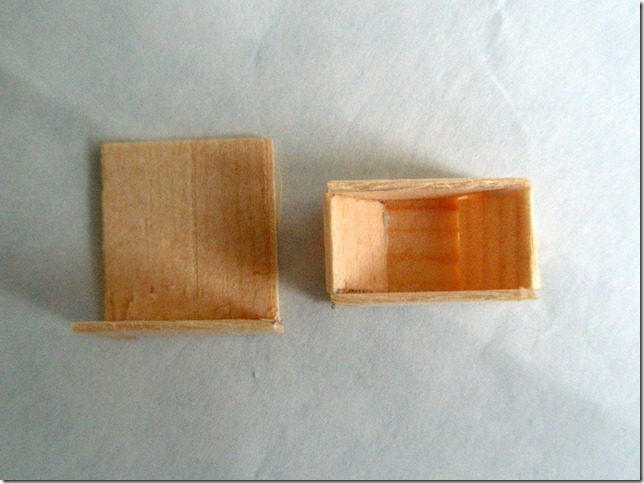
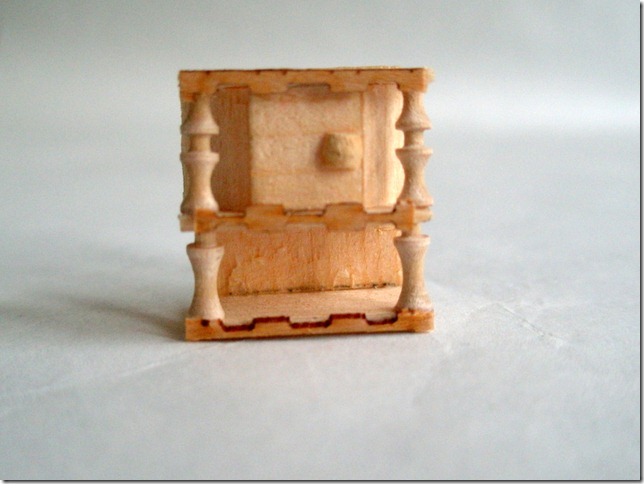
First I cut and glued the back and bottom shelf and the middle and top shelf, sandwiching the cupboard.
From inside the cupboard is just a hole.
I have some twenty year old miniature turnings that I’ve cut apart to make the balusters which support the shelves. Tudor balusters are really huge. If you don’t have mini turnings you can sometimes find carved wooden cocktail sticks (toothpicks), fancy skewers, or use the plastic sprues from plastic construction kits, or make your own by threading the smallest beads on to wire.
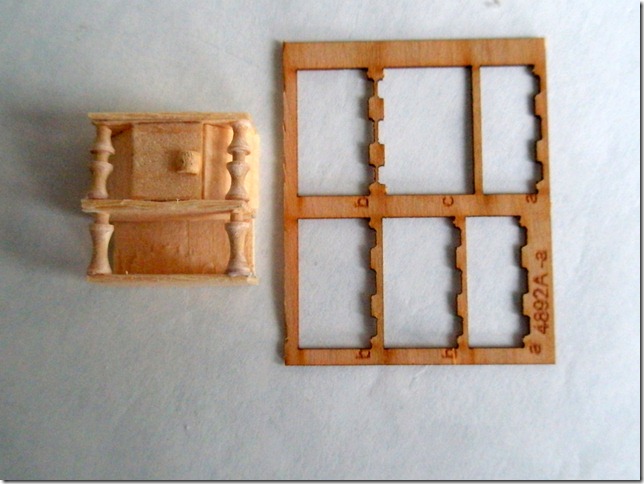
I have, naturally, saved all the laser cut sheets from which the Templewood miniature furniture pieces were removed. These have some fab shapes that will do very nicely for the carvings along the edges of the shelves.
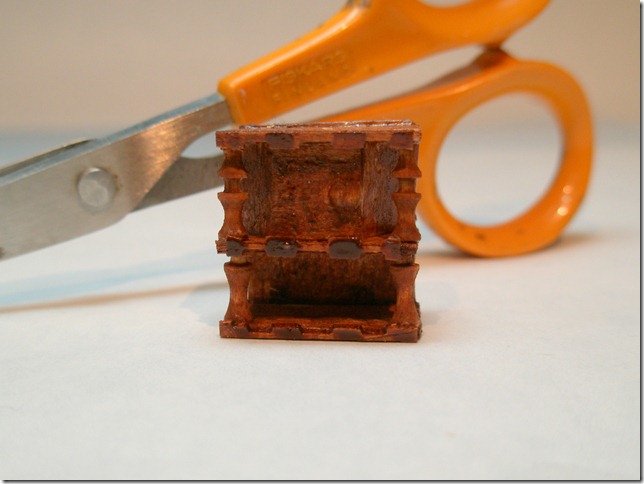
Stuck on they look splendid.
On a larger piece of furniture I’d have stained the pieces before gluing them, remembering that glue does not take over woodstain well, visible glue will show a pale line. In this size, with balsa, the stain is likely to make the wood swell, so I’m just going to be careful with the pin thin glue lines and scrape any residue off with a scalpel. One of the advantages of this scale is that you don’t really need to clamp the furniture while the glue is drying, as such. I held my joins under the hot work lamp while I watched TV for ten minutes, the size ensured the glue was stronger than the wood. You do need to let it dry before playing with it or painting or staining it.
Once I’ve loaded it up with junk, Shakespeare himself would feel at home here, though this is not intended to be a Tudor cottage but rather the sort of place where bits of furniture got left for hundreds of years because they were there. And, obviously, because if they got taken away, they’d have had to find some where else to stack all the books.
Just like home, in fact.
Although this site is copyright, the court cupboard plan is for you to use for your house, as will be the door plans, coming up next time.
~~~~~~~~~~~~~~~~~~~~~~~~~~~~~~~~~~~~~~~~~~~~~~~~~~
JaneLaverick.com – little plans – big ideas.

