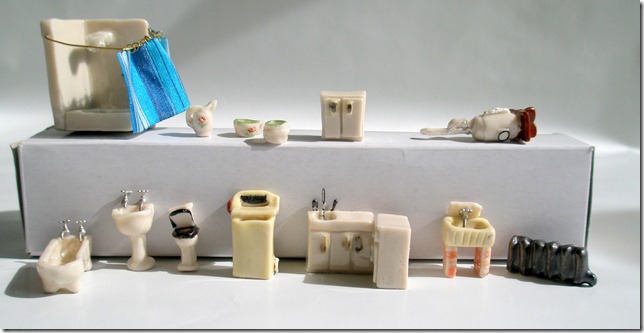
I think I may have just found the easiest, peasiest, most budget conscious, super customisable 48th scale dolls house ever, which may solve some of the questions that have been popping up with great regularity for the whole year that I’ve been talking to miniaturists about this scale.
The questions are: 1) the price. I found the potential shell of this house for £7 or less, though there are two others at £10 or less and the massive mansion at £15 or less.
2) The availability. Most places you’re reading this you’ll be able to find it locally (because no matter how good the price on the web, it’s not a budget priced house if you personally have to pay for it to be flown half way round the world.)
3) The alterability. I’ve never met a miniaturist yet (and I have met thousands) who set their eyes on any house shell or kit and didn’t do a makeover in their head before they even thought about wallpaper. ‘Can I shove a study in and if so where?’ is pretty much the question that defines a miniaturist.
4) The ease of messing around with it. You look at an MDF house shell and your heart leaps and then you realise it’s a band saw/power tool/commission and expensive wood worker job and your heart sinks. Well, yours might not but these days I try not to lean on my dining table too heavily in case the death from a million saw cuts finally takes effect. A house I really, truly could cut with a craft knife would be a great thing.
5) Accessibility. One of the major complaints in smaller scales is being unable to get at the tiny room you’re trying to decorate.
6) The price. Again. I have interviewed quite a few miniaturists who had bought unutterably expensive house shells or kits and ended up making them up exactly as per the instructions on the side of the packet because they were terrified of trashing something so costly. And, although the results were good you can’t help thinking: where’s the individual art in that?
Enough tarting around, the answer is:
Taa daa!
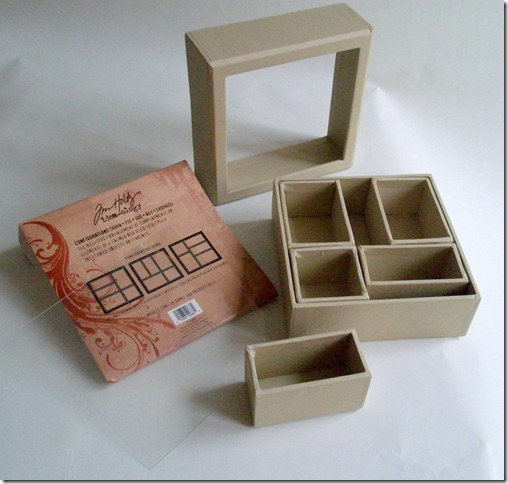
This is a Configurations box designed by Tim Holtz for Advantus. This is the smallest which is five and a quarter inches square and one and three quarter inches deep, or a wall hanging 48th scale cottage, as it’s sometimes pronounced. The slide-off box front has removable acetate, so you can do the messy bit first and glue it in cleanly and – look
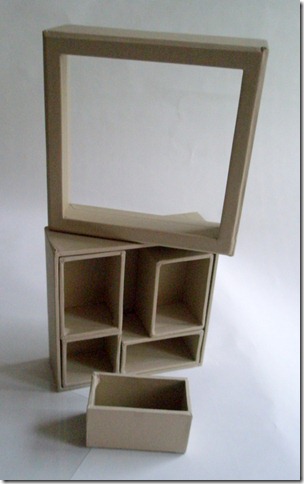
can you see removable rooms? Not yet? let me show you again
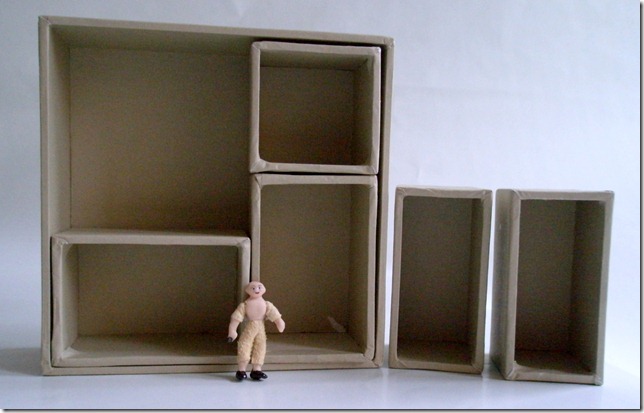
Now can you see removable rooms? (You’ll have to excuse TV remote man, who hasn’t got dressed yet.) I can see the possibility of making up a room outside the shell, where you can get at it and then sliding the completed room back into the shell, anywhere you want to! Or, even………….
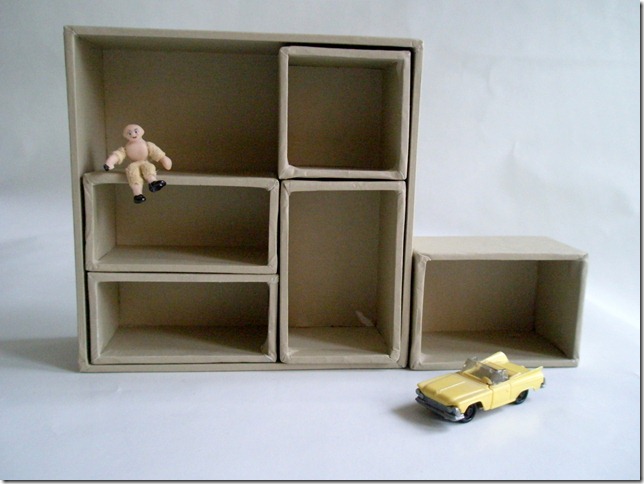
Oh now you’re talking!
As I’m sure you can see there is absolutely no need to arrange the rooms inside the box if you’d rather have them outside or you could make a new interior of your own, or do a bit of both. I did invent a system many years ago for twelfth scale houses that I was going to produce with Dijon, which featured rooms that slotted together to produce a house of any size. Stability was the sticking point but here it’s not a problem because of the size and the materials.
The material is a paper covered board which is strong enough for construction purposes in the matter of walls and cladding but easily cut apart, as I’ll demonstrate in a couple of paragraphs.
It is with extreme joy that I reveal that the combined thickness of an internal box wall and an external box wall is an exact reproduction in 48th scale of an 11 inch brick cavity wall. Crikey! How handy is that! If you slide the boxes in as is, you’ve even got the cavity. (I should like to say at this point that in quarter of a century of doing it, I’ve never seen a doll’s house yet with a miniature cavity wall; if you didn’t glue the boxes in you could draw mice, or Borrowers living between the walls and spiders and insulation and lost treasures that slipped through the floor boards. The possibilities are as long as a piece of string.) Internally that makes the walls a bit thick, so you may wish to grab extra room space by having the internal wall dividers just one box wall thick. When the whole shell and all the inserts only cost £7, you can afford to mess around with a couple of boxes and really get creative.
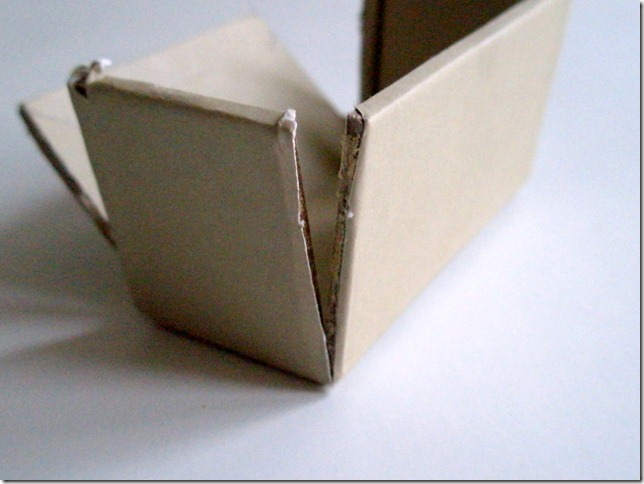
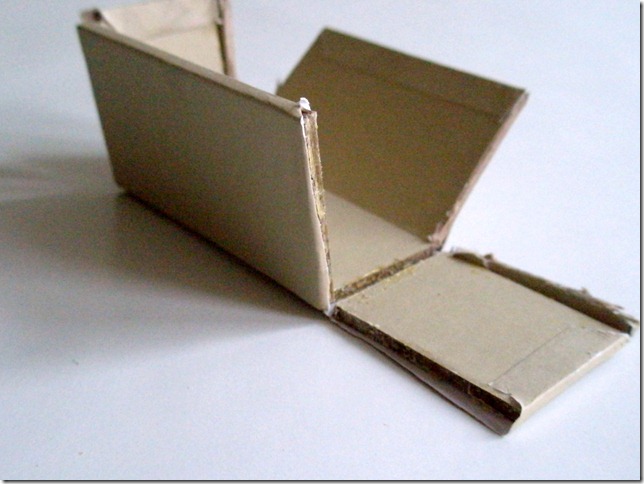
I decided to combine the two smaller internal boxes to make one big room. To do this, after cutting through the internal board I found it was much easier simply to run a craft knife blade along the outer corner of the box.
If you do this on a couple of corners you can just pull the wall down.
This makes a slight gap. You can choose to glue the gap, fill the gap or just scrunch the wall together. On the top and bottom, there is no gap but it all depends on which direction you are extending the room. Excess paper is on the outside of the insert and will be hidden when you slide the room back into the box.
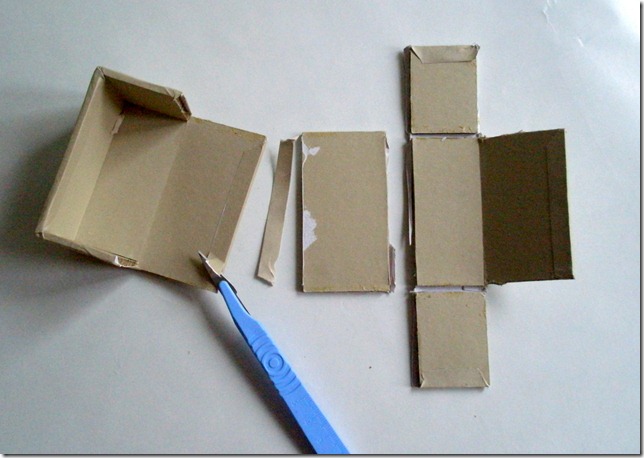
Here I have deconstructed the two smallest boxes to make one. What you will immediately notice as a miniaturist is the extra thickness of paper where the internal box covering is folded over the edges. This would cause a visible lump in wallpaper or flooring applied over the top, so I simply slid my scalpel underneath and peeled off the excess. I found emery boards (as used for full sized nail files) were fine for sanding down. You may wish to do this in the box corners to make them flat and square enough for miniature purposes, remembering that when you peer into the ‘room’ your eye will register it as a full sized room. Don’t panic if you accidentally chop the box, we’re going to cover it all anyway and even if you cut off the wrong wall and threw it away, the actual ‘room box’ has only cost £1 or less.
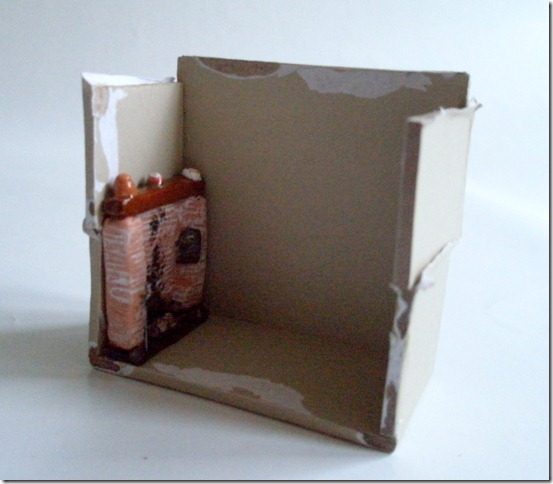
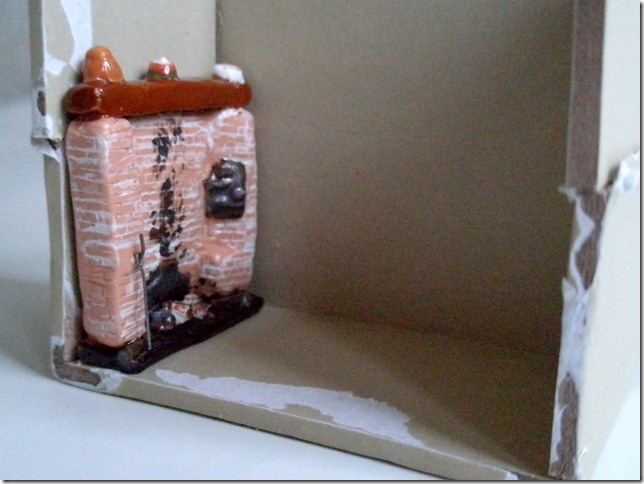
With the two boxes cobbled together I was keen to see if my largest porcelain fireplace, which is the inglenook fireplace, would fit on the smallest wall.
Yes it does. In close-up (which is how we’ll look at it when it’s finished)
it’s fine. I’m happy with that, though it isn’t the fireplace I’m going to use.
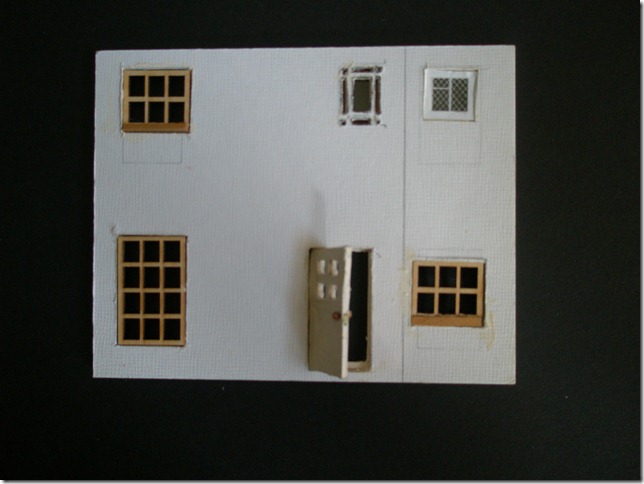
One of the features of smaller scales is the need to be selective with the amount of stuff you put in a room. One of the benefits of using Configurations boxes is that we can put the windows where we please. In smaller scales this means we can decide where we want the features and plan the windows round them. If you are a keen reader of this column you may remember the previous house I kitbashed and the new back wall I made from artist’s board which had several types of window in it.
These are (from the top left): wooden cut in half with a new sill; cut from the board after drilling holes and glazed with acetate coloured with heat set fabric marker pens; model railway screen print fitted into a recessed hole. Lower floor: Wood as made, a board door hinged with leather between the two wall thicknesses and a cut down wooden window with a new sill.
Any of these would do but I’d like to introduce you to an even easier window, highly suitable for a box-back wall hanging house, which this is going to be. This is the type of window built into one thickness and backed by a fake view like the window of a stage set or TV studio.
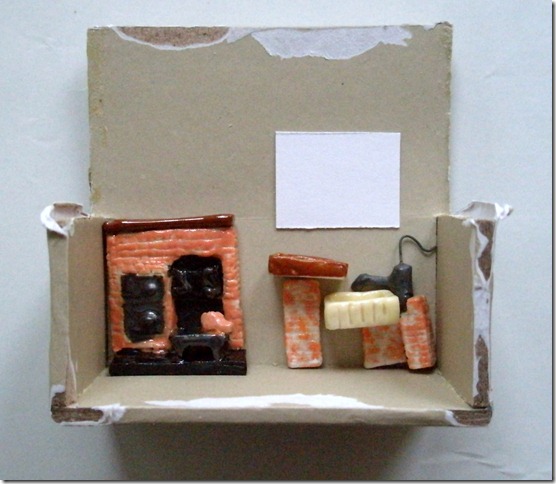
I first determined the placement of the window by chucking in everything that will stand against the window wall.
I’m making sure I do not foul the fireplace and have enough room under the window for the sink. Having determined placement I size it realistically, remembering the easy formula for 48th scale, which is to call the feet (in reality) inches and quarter the result. I cut and placed a suitable piece of paper and drew round it.
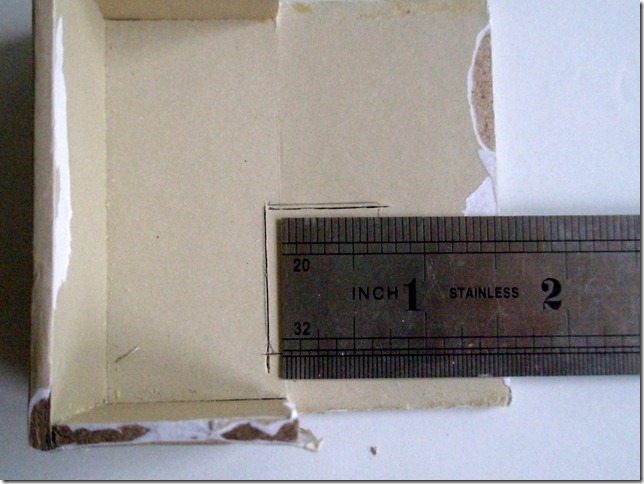
I found it easier to cut the hole round the end of a metal ruler.
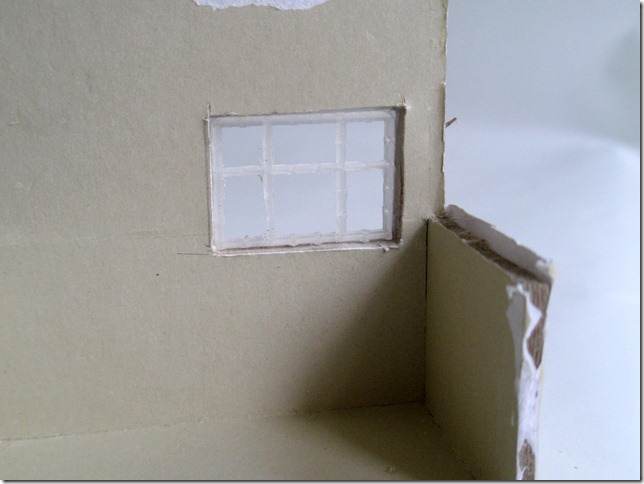
If you are using a Configurations box as it comes, you could transfer the measurements to the outside of the box and cut from the back of the room, which might be easier, as the walls would support the ruler. As I’ve deconstructed the box I’m doing it from the inside. Cut the board in the same way as you would cut foamcore board, which is to say with successive slices of the knife blade, stroking it along the length of the cut. This produces good flat cut edges without tearing at all.
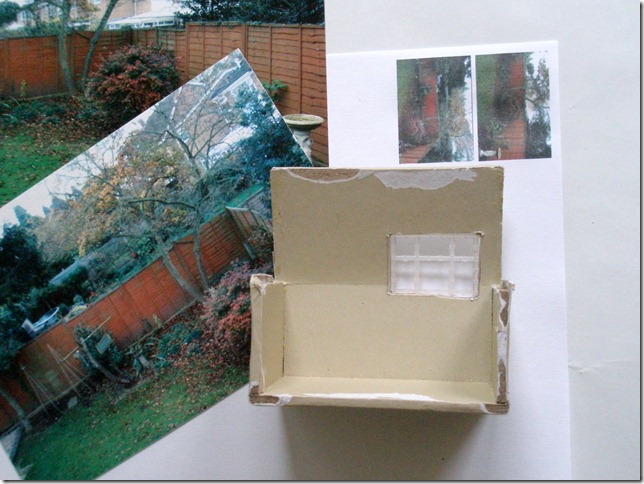
At this point there was a slight pause in the building as I took photographs of my garden from downstairs and upstairs real windows and reduced the results on a photocopier to quarter of their original size, to go behind the mini windows.
I’m using plastic canvas for the windows because it’s cheap (an A3 sheet cost £2 and will provide windows in this scale approximately for ever.) You can cut it with scissors or a craft knife and in small pieces it’s rigid but bendy enough to force into tight fitting window holes. I cut 9 mesh canvas to make the window pane size I wanted.
I’ll lose the Prisoner Cell Block H effect when I’ve cut the extra bars from the window.
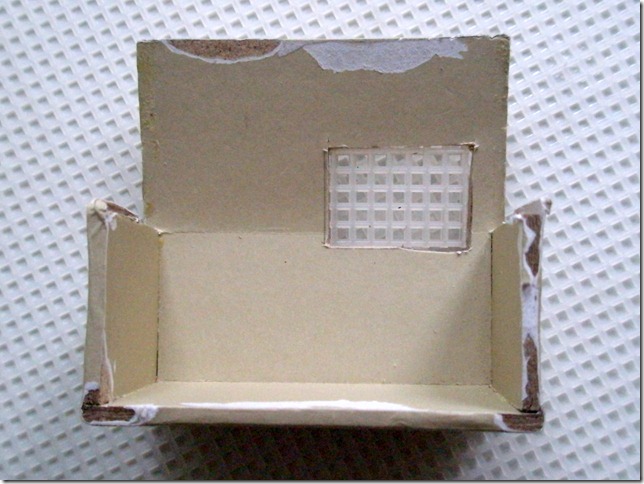
Like this and fitted the photographic reductions to make a view behind the window. First I’m going to deal with that bend in the back wall by gluing some paper reinforcement to straighten it on the back. I’m using thick decorator tacky glue which has mega hold but is not super wet, with printer paper. I have used an extra layer down the side (which I accidentally chopped through).
I have made the paper fractionally smaller than the hole to create a lip for the window to sit against while I’m fiddling around with it and minimise the frustration of it falling out endlessly.
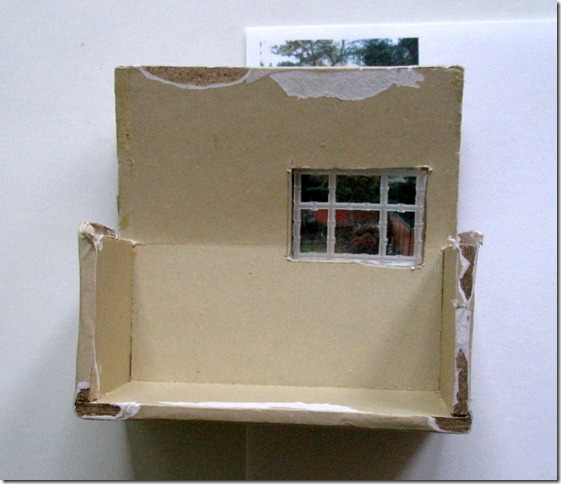
From the inside we have the beginnings of a room!
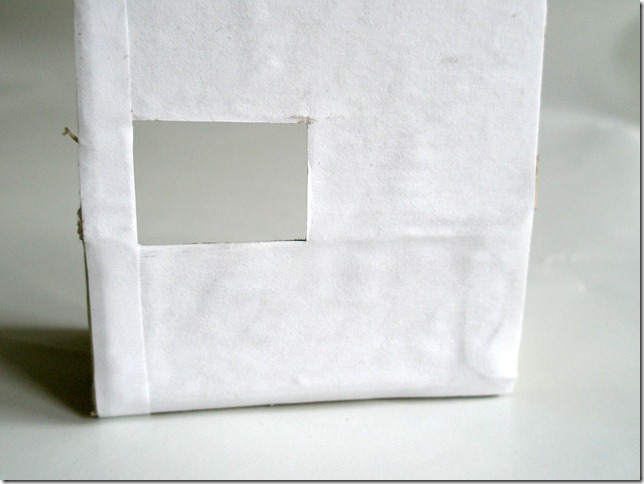
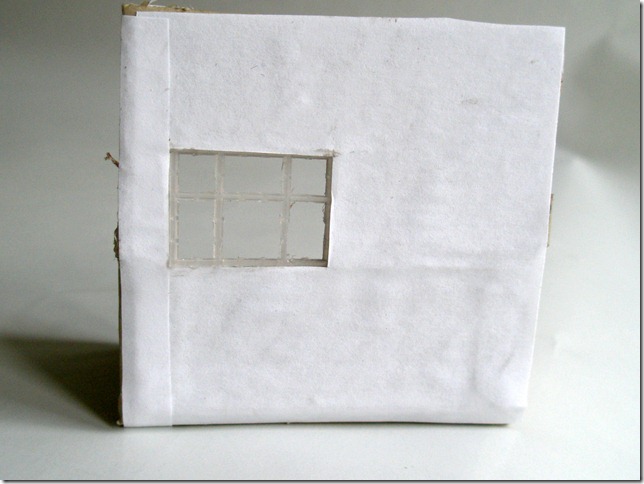
Even better, a room with a view, although some idiot has placed the downstairs window over the upstairs view (you can’t get the staff, you know.)
Stay tuned for more on the fastest, easiest, budgetiest, most fun, customiseabliest, dolls house ever. (It’s taken me a whole day to photograph and write about it but it only took a couple of hours to build.)
You can see what Tim Holtz does in ‘full size’ with his Configurations boxes on his YouTube demo. If you put ‘Tim Holtz Configurations’ into a search engine you’ll find Tim and lots of paper crafting fans doing assorted things with the boxes.
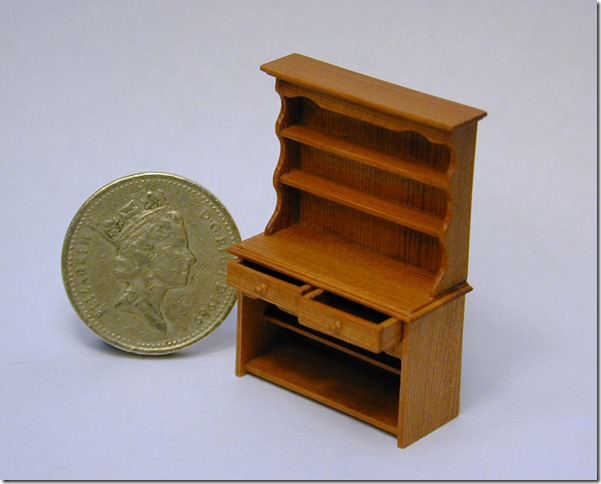
By next time I’ll try to assemble more shopping information in the links. Martin from Willow Models, whose dresser I’m sure you remember
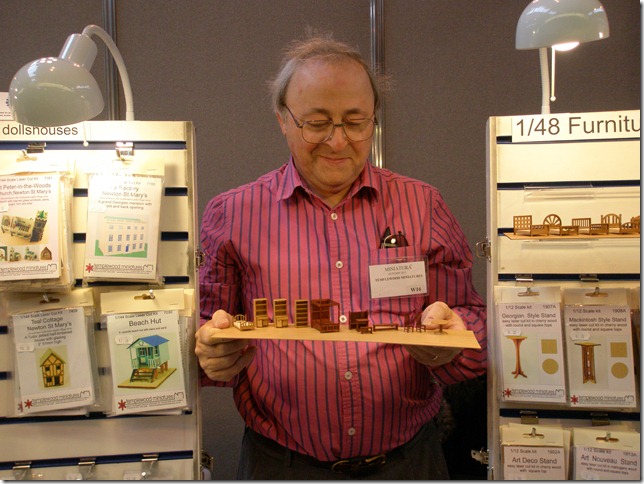
tells me he has nearly got a staircase ready. I’ve sent off for some more of Alan’s furniture kits
and there’s a ton of my stuff just waiting to find a home
this is going to be great!
~~~~~~~~~~~~~~~~~~~~~~~~~~~~~~~~~~~~~~~~~~~~~~~~~~
JaneLaverick.com – a side order of jolly good fun.

