Over the course of the lockdown, when I ventured out in my blue plastic gloves, I stopped wearing rings because it was pointless, and nail varnish, which sticks to plastic gloves and therefore is even more pointless. If you, like me, now have a stockpile of nail varnish going off faster than a teenager the moment a party in a park is permitted, here is something infinitely more interesting to do with it.
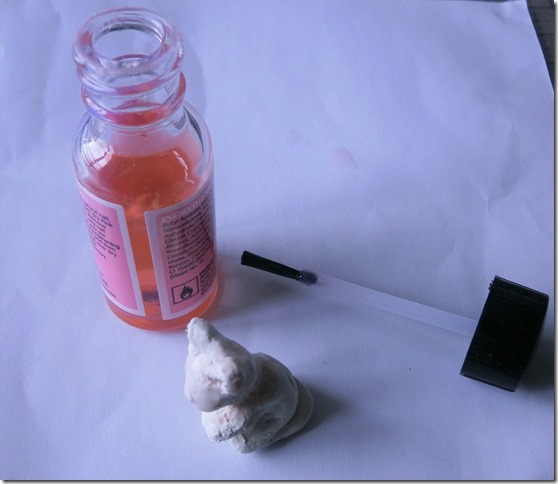
Give the utterly dry small seated animal one good coat of nail varnish all over and let it dry hard. Even coat the base, helped by your waxed paper or non-stick surface.
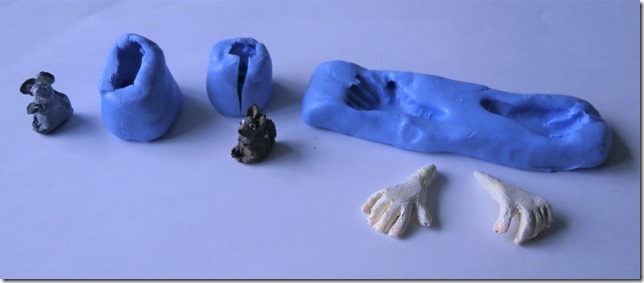
Here are some silicone moulds made with the Pebeo Siligum. These are technically open-faced moulds. The other type of mould would be a fully enclosed mould made of two or more separately made parts. Models produced from an open-faced mould will have a flat side that was out in the air and smoothed off when the paperclay was put into the mould. The hands were put in to the mould to create good looking backs of the hands. The fronts, which are unformed, and face down on the paper, were just flattened off. The mice are both sitting on bases that were the empty-looking part of the mould. The middle mould shows clearly a release slit made with a craft knife. As you can see from the mice and the hands you can make and retrieve quite complex shapes from these simple silicone moulds.
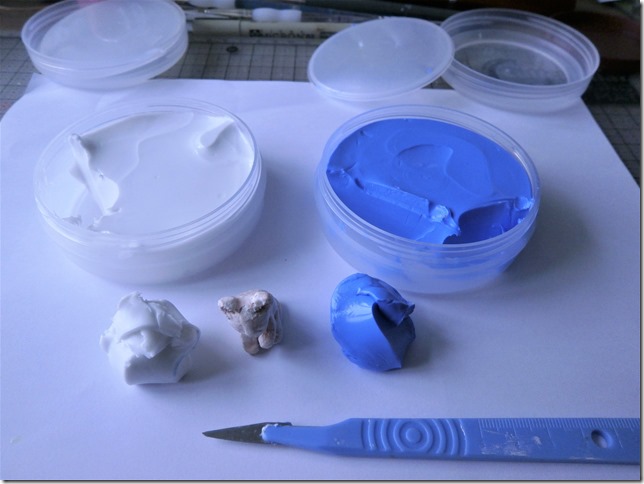
The Siligum comes in two pots, each with a screw-on lid and an inner lid. As soon as they are thoroughly mixed the result will begin to cure and be permanently shaped within five minutes. Therefore, just like a good ghostbuster, do not cross the streams, do not get blue stuff into the white pot do not get white stuff into the blue pot.
Using your knife, remove a portion of one colour of Siligum from the pot, roughly equal in volume to the item from which you wish to take a mould. Then, because you are not doing this for a blog, as I am, put the lid back on. Clean your knife (wiping on a tissue will do), then remove an equal amount from the other pot. Check that there is no contaminating colour in the other pot, if there is, dig it out and then put the lid on. Combine the two lumps and mix them in your fingers, stretching, rolling and mixing until they are absolutely streak-free. This takes less than five minutes for a small mould.
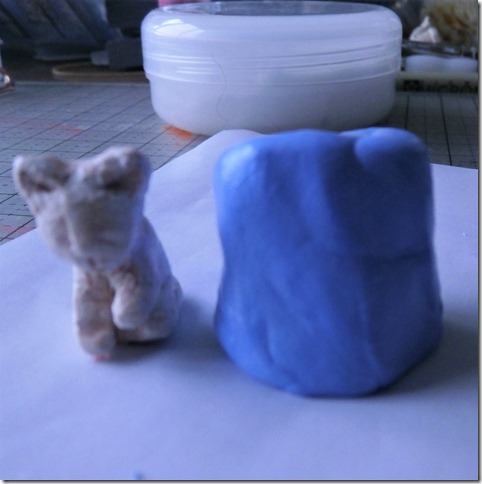
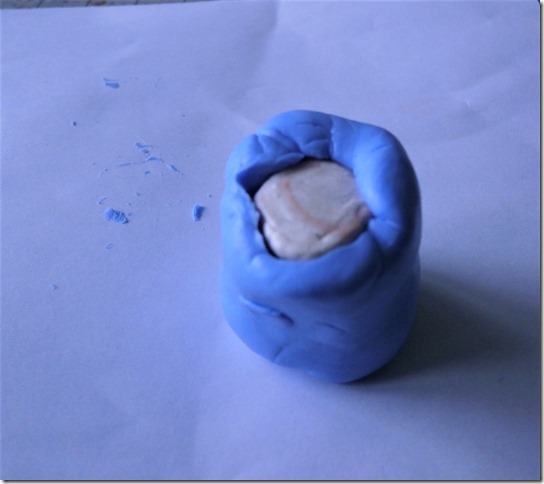
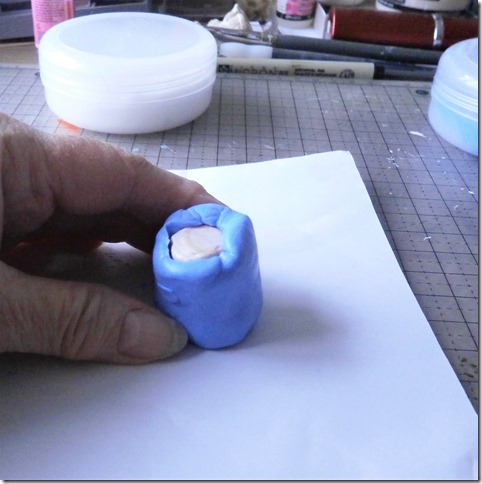
Roll the combined Siligum into a shape that will contain the sculpture. I flatten the base of mine because it will be easier to use if it can stand up on its own. I rolled the cylinder on the waxed paper until it was properly cylindrical then
I plunged the little animal head first into the Siligum.
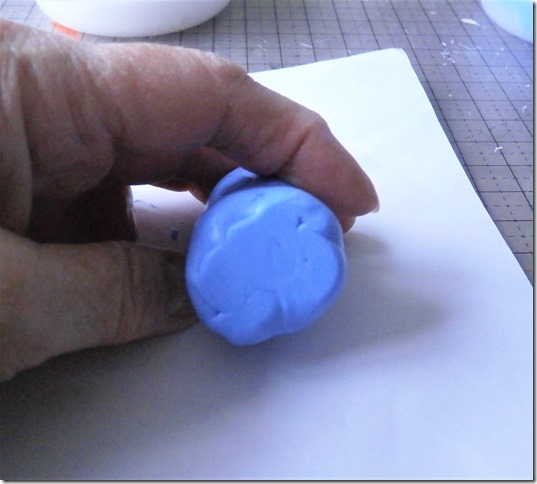
I worked my fingers round until I could not feel any paws, pushing the Siligum into any spaces I could feel then
I re-flattened the base. Then I waited ten minutes.
A whole ten minutes.
Feels like a lifetime. Do it anyway. If you are an impatient person, go and put the kettle on, or wash your hands twice while singing Happy Birthday To You and next time I’ll tell you how to get the sculpture out of the mould.
~~~~~~~~~~~~~~~~~~~~~~~~~~~~~~

