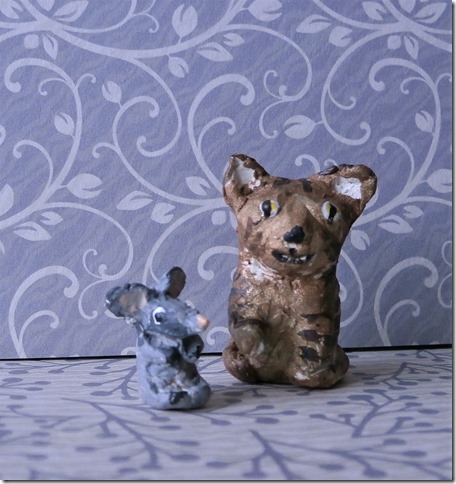
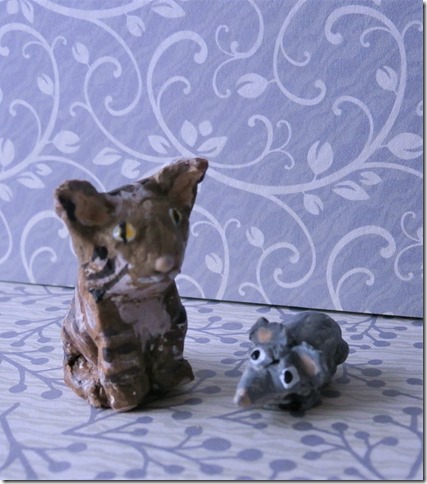
If you have read part 1, which, as blogs go, is the post down below this one, you know how to sculpt the body of the all-purpose-sitting animal. I refer you again to the photo at the top of the previous blog (below, I know, who invented this?) in which you can see that I am making very small sculptures. The cat above is just over an inch tall, 3 centimetres, which is not tall at all. If you are not a miniaturist, it doesn’t matter, just make a bigger one, making the right shape in any size is a matter of tools, hands and materials. If you wanted to make a cat life-size, paper clay would have to be reinforced with something, such as a wire frame, if you are making microscopically, say under a centimetre, the paper clay will not be fine enough, you would be able to see fibres on the surface. The size I am working with would be about right for a twelfth scale dolls’ house, to stick on a greetings card, or as a small collectable ornament for a printer’s tray. I think this type of small sculpture in paper clay would hold together well, easily up to six inches tall. Bigger than that the clay gets heavy; sticking the legs on and making them stay there might be tricky. This type of sculpture is ideal for models up to about four inches tall. At this size, or smaller, you are going to get at least twenty models out of a block of Creative Paperclay. One to three inches is a good size to display in printer’s trays. There are quite a few modern versions of printer’s trays easily and cheaply available, most craft outlets will have wall hanging, sub-divided shallow boxes available in either MDF or cardboard. Tim Holtz, craft guru, does one for Advantus in which the subdivisions are removable, both craft channels in the UK, which ship internationally, have versions by various makers. If you didn’t want to give away your sculptures or sell them, these display boxes would be ideal and you could fit them with a clear plastic front and never have to dust your sculptures. My father collected antiques life long. Married, it took my mother no time at all to insist on the need for a cleaner because she had better things to do than dust and it is easier to sack a cleaner who has broken a valuable antique china ornament, than your wife, especially if she is a good cook.
However, our paper clay sculptures are light and strong. If you drop them on the carpet, no harm will come to them, though it might if you trod on them. If you fill a small wall hanging box with them, the weight would still be mainly that of the box. It would be worth adding a clear front, the sculptures, being light, could drop out if someone wafted past. If you dropped them on the floor and someone else vacuumed them up, that, in the middle of the frustrations of lockdown might bring matters to a head. And so will I.
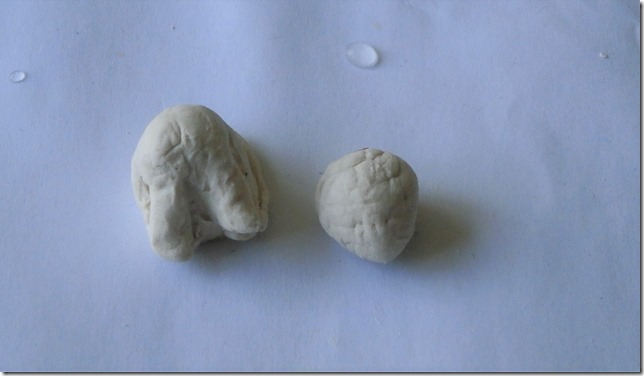
Here is our sculpted body of a sitting animal. On the right is the other piece of clay. I have rolled it between my hands, pressing more on one side than the other to produce an egg shape. Making sure the top of the body and the underside of the head are damp enough to adhere to each other, place the head on top of the body and hold it there with the finger and thumb of one hand.
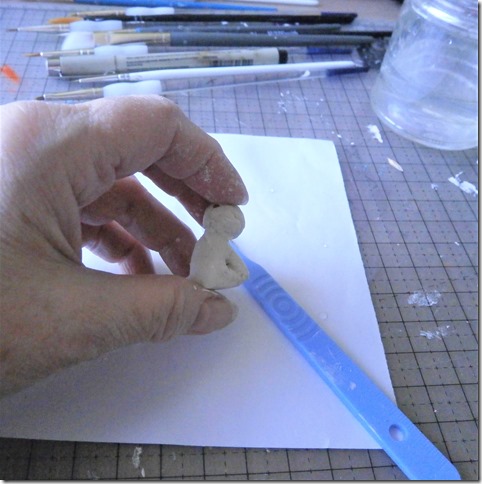
Work around the junction of the two pieces of clay with your sculpting tool smoothing the join. Work all the way round once, then maybe again with water on the tip of your knife until the join seems firm and you cannot see the join anymore at all, even better than the join on Little Ernie Wise’s wig. If it’s invisible, it’s good.
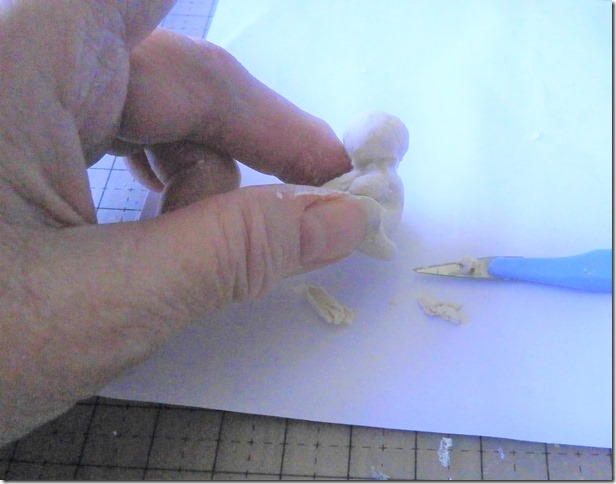
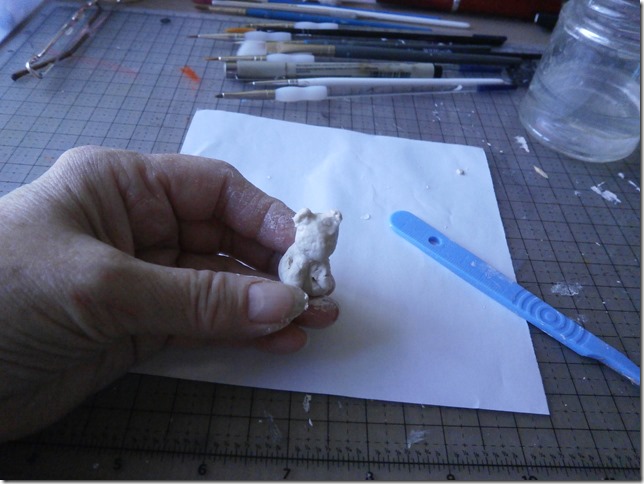
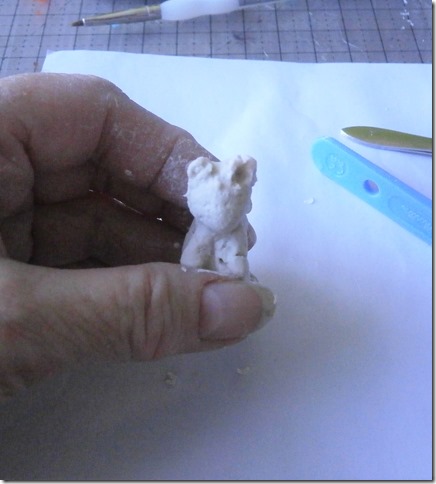
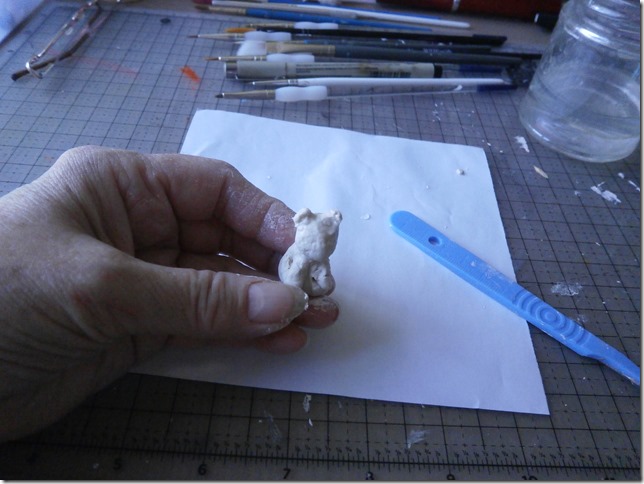
Break two very small pieces of paper clay off the block to make the ears. I scooped tiny bits off with the end of my knife. Pick one proto ear up on the end of your knife., stabbing it if necessary. Holding the body by the lower end, as you see in the photo, place the knife with the ear on it on top of the head. squash it on and work round the ear, as you did the neck, until it is attached.
You can make a little indent with the tip of your knife in the front of the ear to make the earhole. I would be wary of making the ears too thin for the mould, but when you are demoulding the finished shape from your mould you can reshape the ears to be thin, pointy, flatter or whatever you like. You could make them very thin by squeezing them with tweezers. In a little animal like this manipulating the ears on the finished shape can add a lot of character. What you want now is strength; solidly attached, small ears are more likely to survive the moulding process than anything thin or very elegant.
Now we have a recognisable small sitting animal.
As you can see, I have not refined the ears yet but they are very firmly attached, so I can mess around with them without them breaking off.
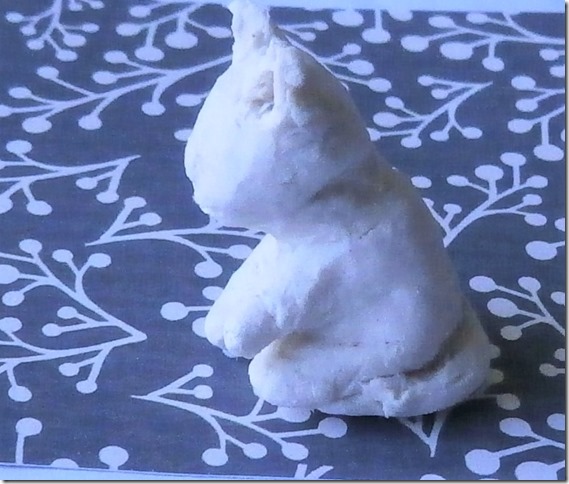
And here I am with my ears refined. All I need to do now is use the tip of my knife to define a mouth, or maybe make a slight depression for the scoops under the eyes. You could consider adding little rolled balls for eyeballs, though in this size they need to be small or your animal will look as if it’s on Class A drugs. You could also add a longer muzzle (but not much longer, it may pull off in the mould.) In general that’s it.
You have now managed to sculpt a small sitting animal in paper clay. I am proud of you. Be proud of yourself. A new skill acquired! You are qualified to tell people who spent their lockdown sitting on the sofa, eating, that you used yours to turn into a sculptor!
Amazing!
Let the little animal dry over night. Make sure you seal the clay away in a plastic packet and go and find some old nail varnish for next time, which is mould making. The mould making is easier than this, you’ve done the hard bit, you sculptor you!
~~~~~~~~~~~~~~~~~~~~~~~~~~~~~~~~~~~~~~~~~~~~~~

